|
Subversion - Client Settings
2011/06/04 |
|
This is Client Settings. For example, Install TortoiseSVN on Windows 7.
.NET Framework 4 is required.
Download and Install TortoiseSVN.
|
|
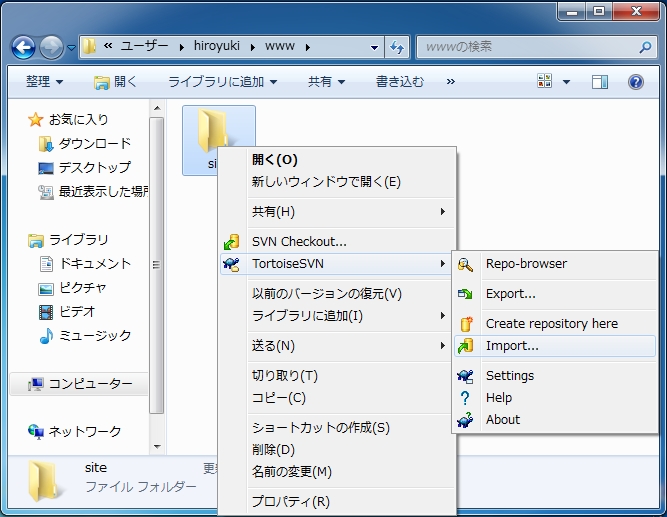
| [1] | After installation, Execute "Import" first to click a folder you'd like to set under version control like follows. |
|
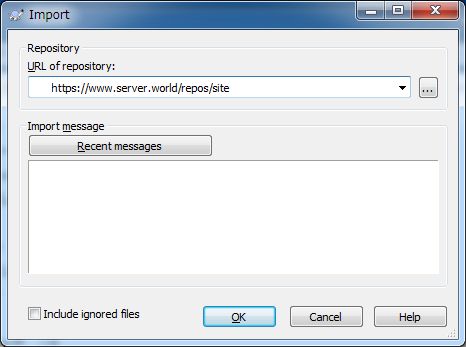
| [2] | Specify repository's URL like follows. [ "https://(hostname or IP address)/repos/(repository name)" ] |
|
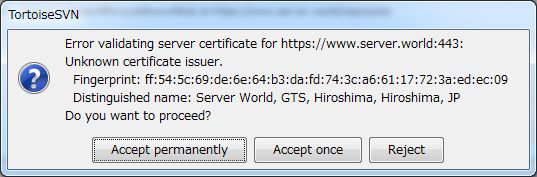
| [3] | Click "Accept Permanently", it's no ploblem, it's shown because certificates are signed by yourself. |
|
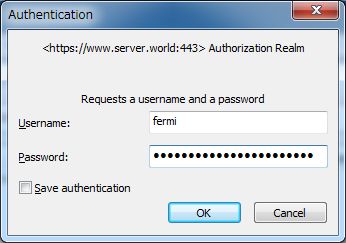
| [4] | Authentication required. Login as a user you set in htpasswd. |
|
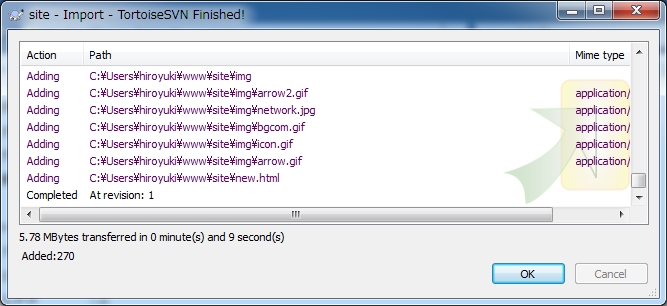
| [5] | After authentication, importing starts. |
|
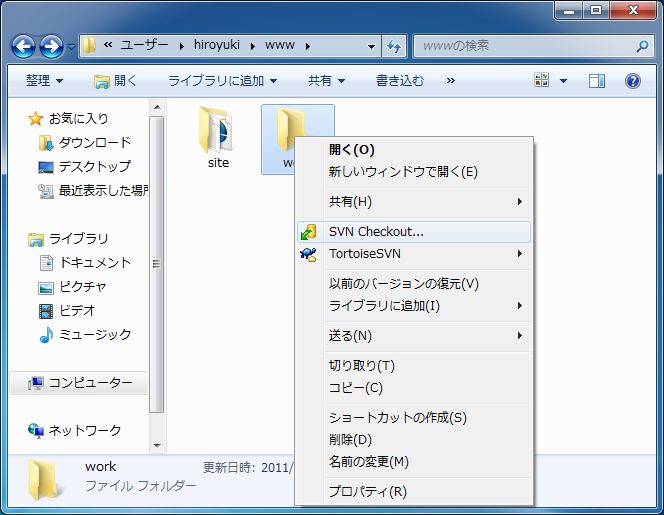
| [6] | Execute "Cherckout" next. Create a working folder and right click "SVN Checkout" on the menu. |
|
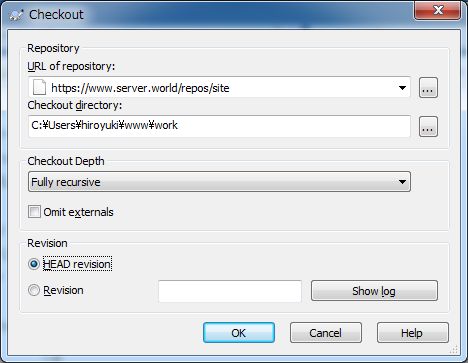
| [7] | Select repository7s URL and checkout directory and click "OK". |
|
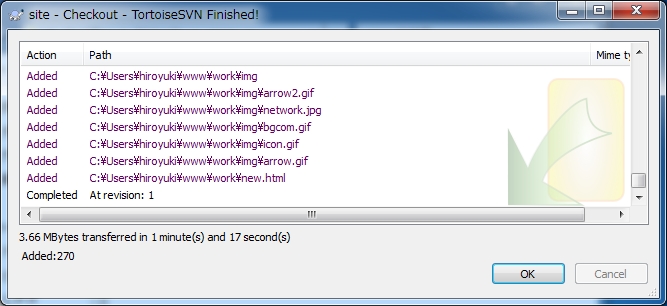
| [8] | Click OK to finish. |
|
| [9] | These are Basic usage to manage version control by TortoiseSVN. |
|